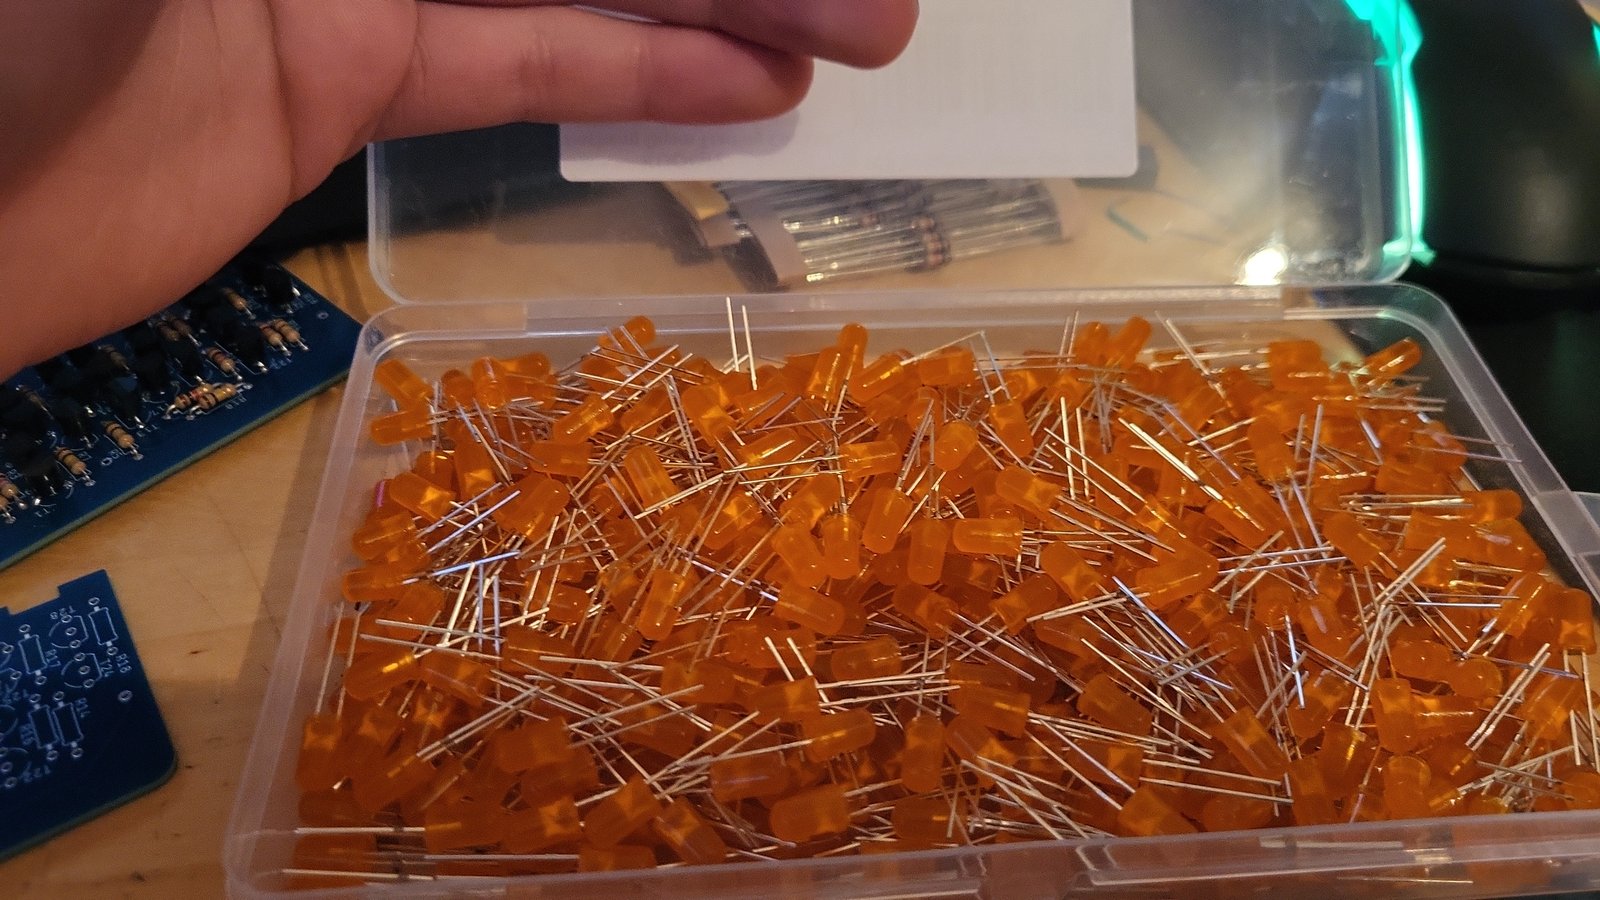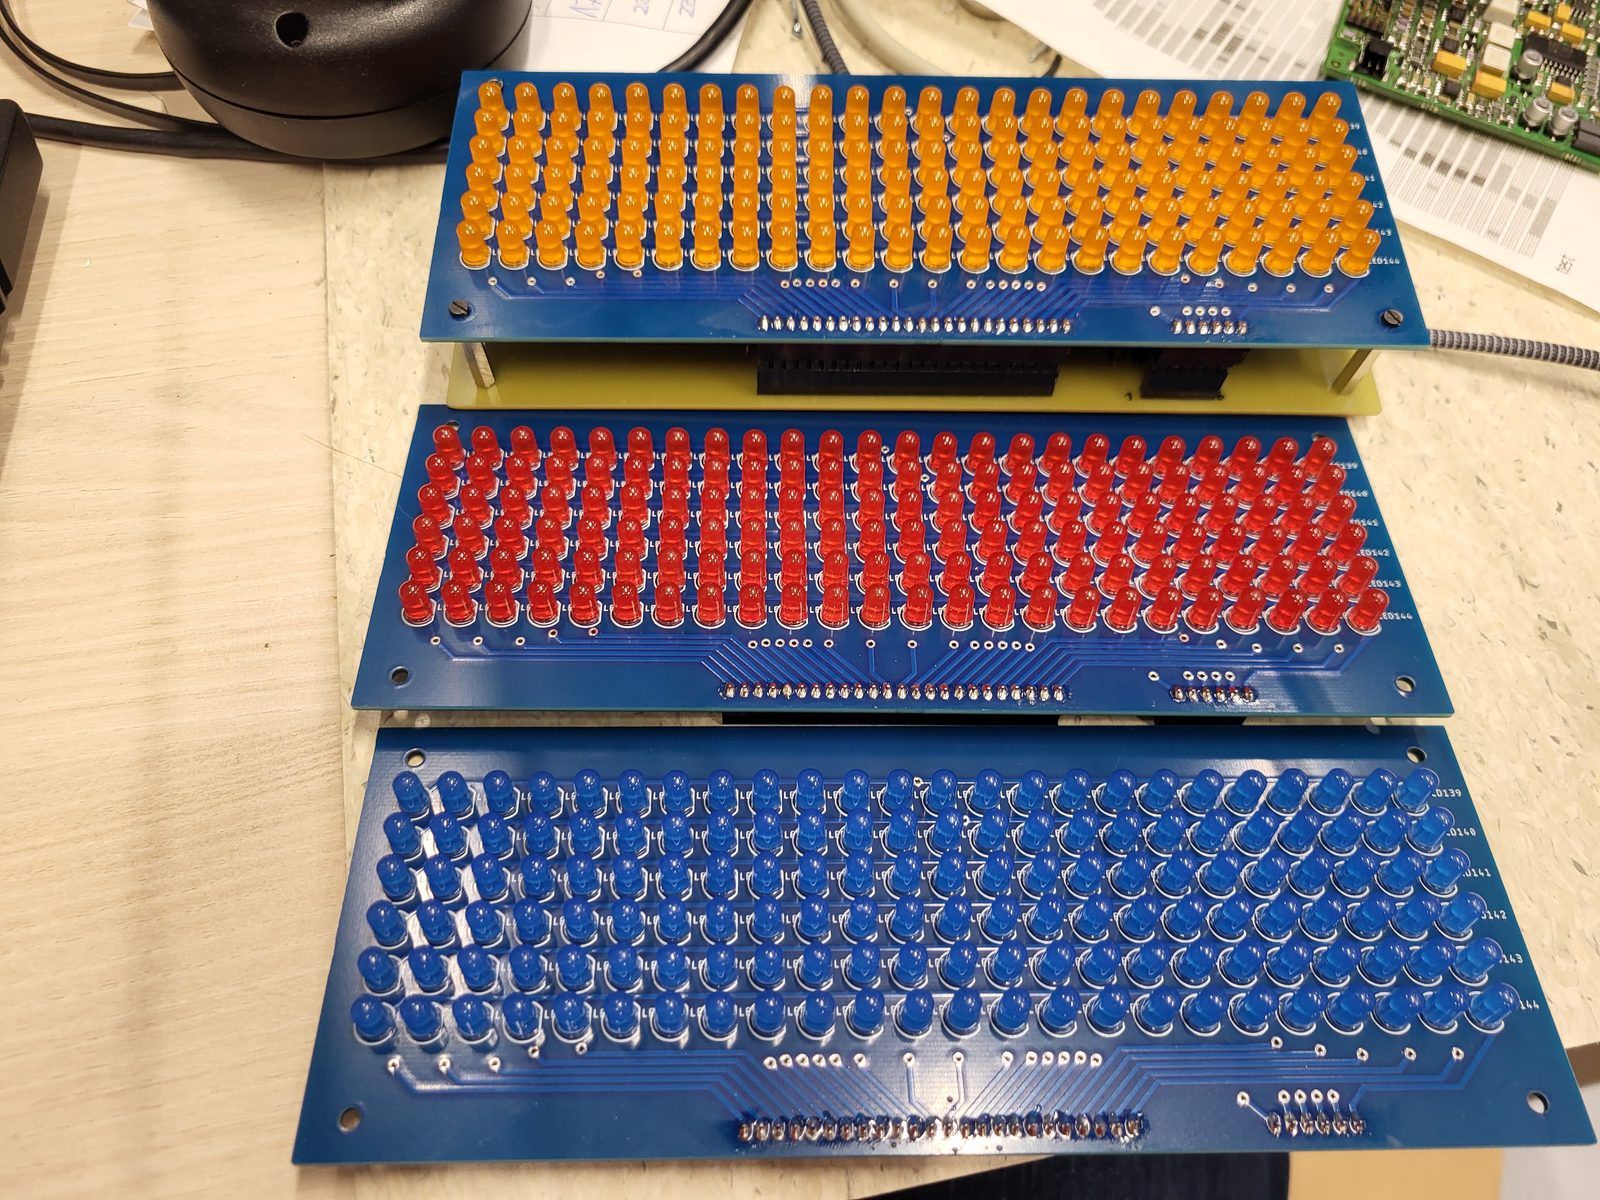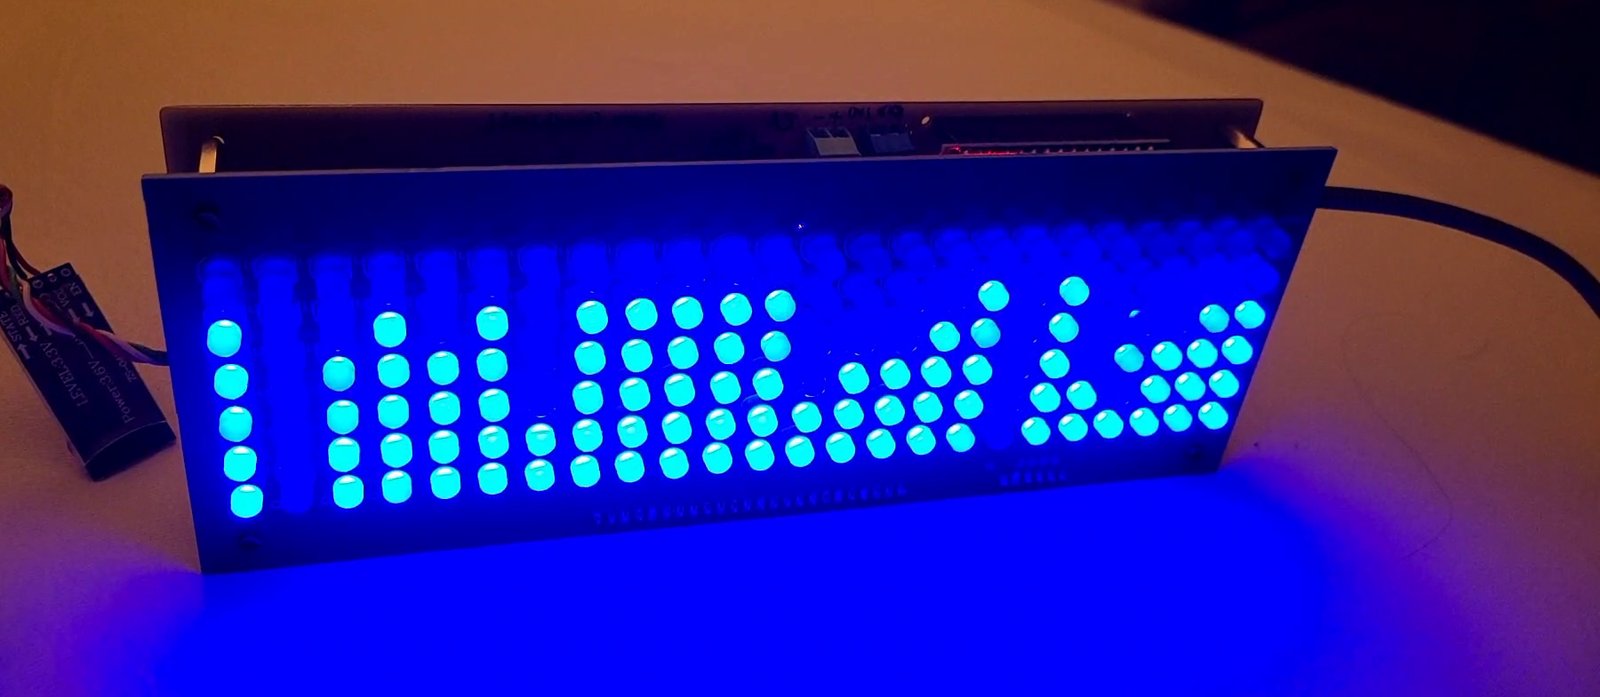
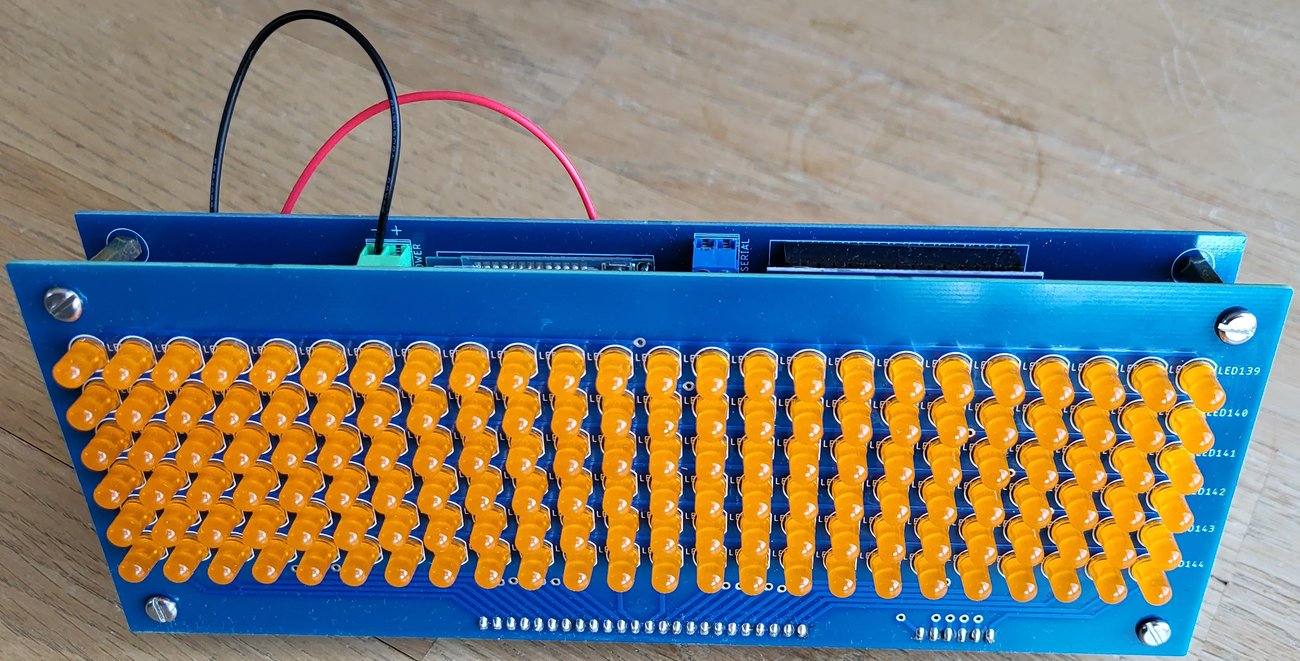
A self-developed scrolling display used as a door sign: 144 LEDs, an Arduino Nano and text transmission via Bluetooth.
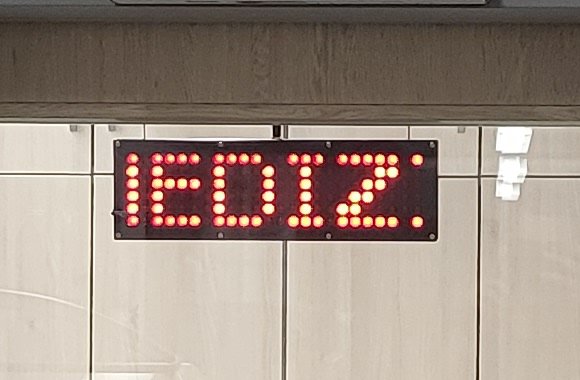
The idea of building an LED display originally came up as a private project. During the internship semester of my electrical engineering and information technology studies, it was received so well in the medical engineering department that the finished matrix was put to use there as an additional door sign. In the following, the design, the operating principle and the usage of the display are explained.
Details
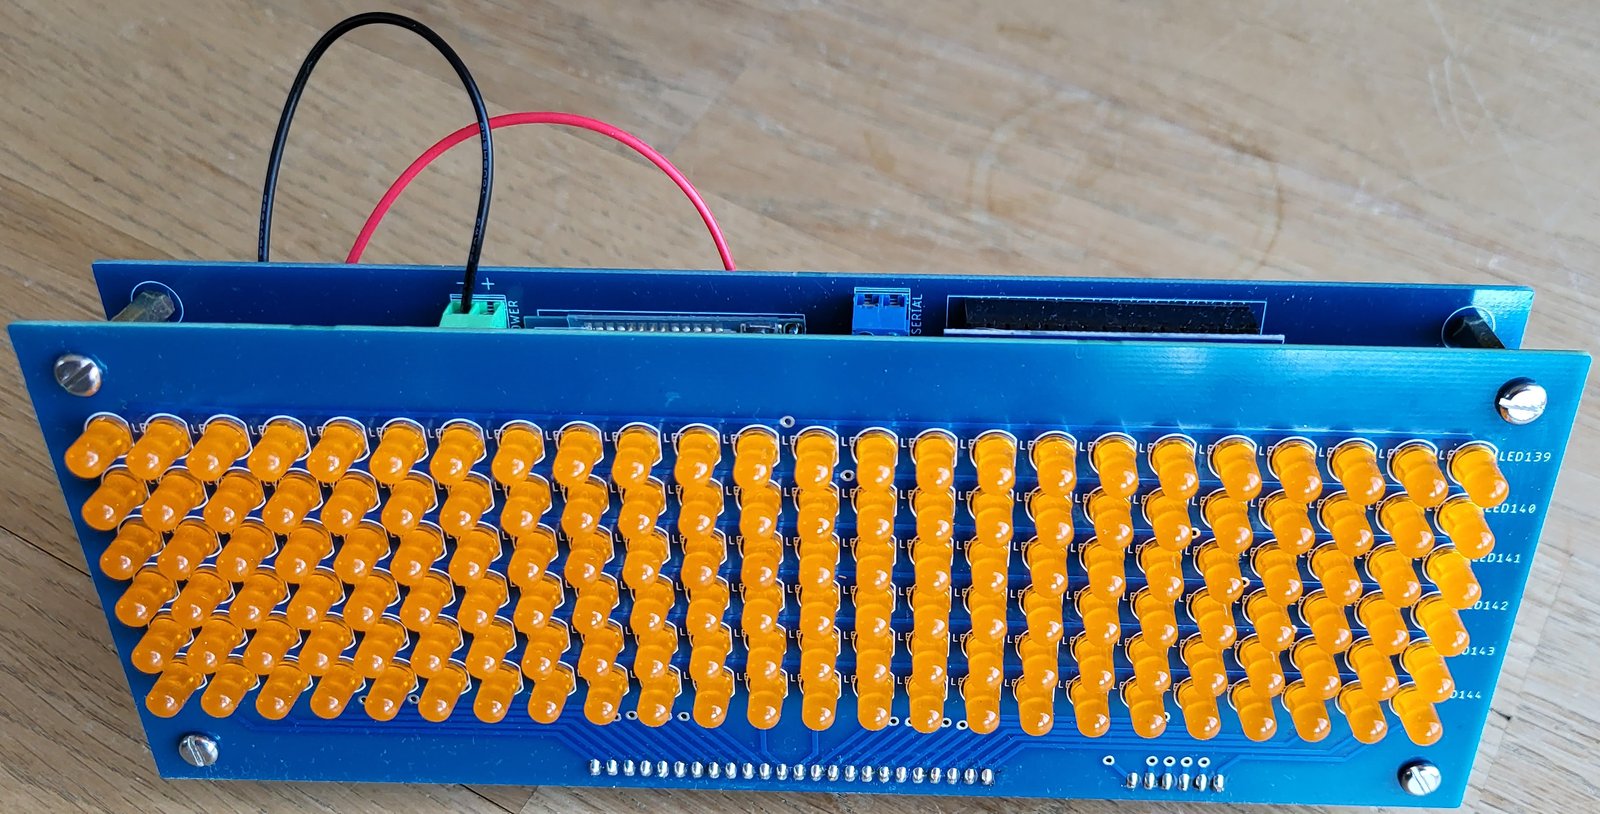
- Display: 24 × 6 LEDs (144 LEDs in total)
- Control: Arduino Nano
- Input: Bluetooth via HC-05 module / ext. UART interface
- Character set: uppercase letters, numbers and special characters
- Power supply: 9 V battery / ext. via 7805 voltage regulator
Electronics and PCBs
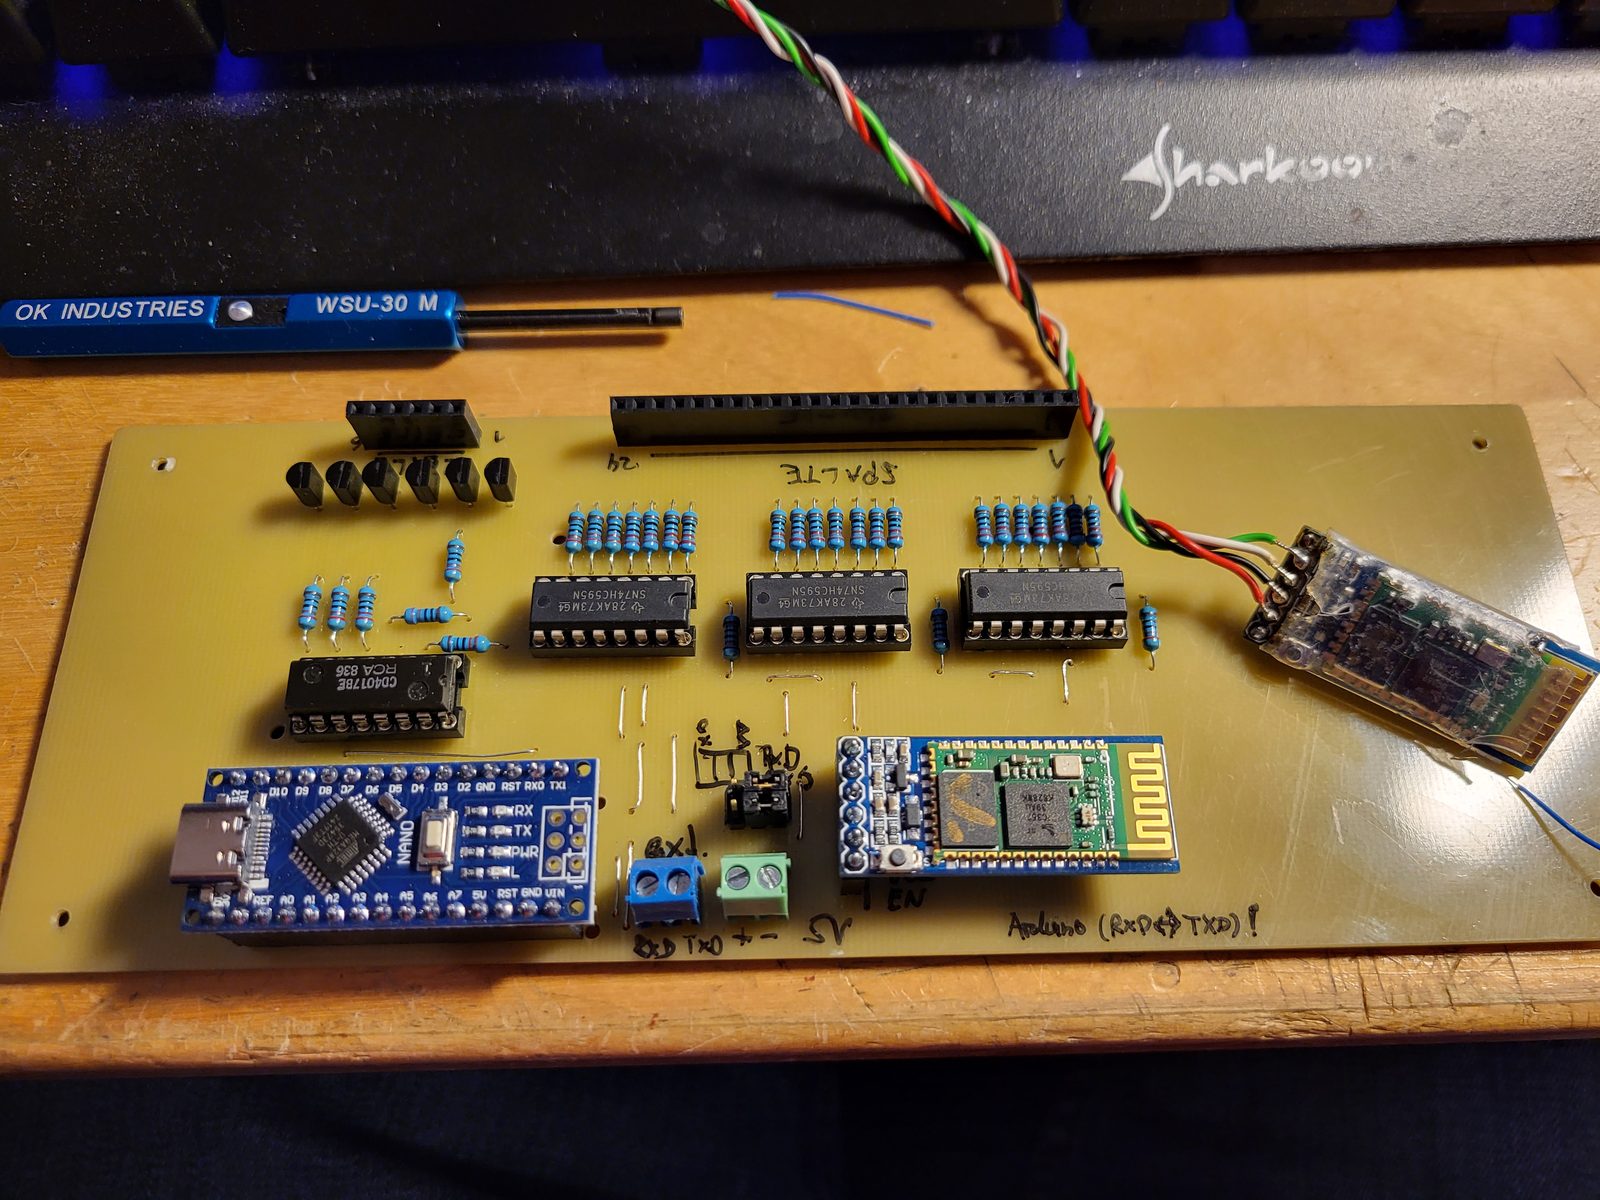
The 144 LEDs are driven using so-called multiplexing. One row is activated at a time and the corresponding column pattern is output. The 24 columns are driven by three 74HC595 shift registers, while a 4017 counter IC switches through the rows one after another. Due to the persistence of vision, the pattern appears as a steady image if the refresh rate is high enough.
Schematic and PCBs were created in EAGLE. Compared to the original design, the circuit was extended by an HC-05 Bluetooth module, an external power supply with a 7805 regulator and an audio input. A circuit and an Arduino program by NematicsLab served as the starting point and were adapted and developed further for this project.
Schematic
The schematic is divided into four sheets: the control unit with Arduino Nano, HC-05 and voltage regulator, the audio input, the column driver with the three shift registers and the row driver with the 4017 and six 2N3904 transistors. The jumpers SJ1 and SJ2 switch the audio input between stereo and mono operation. A pin header determines whether the serial port is connected to the Bluetooth module or to an external interface.
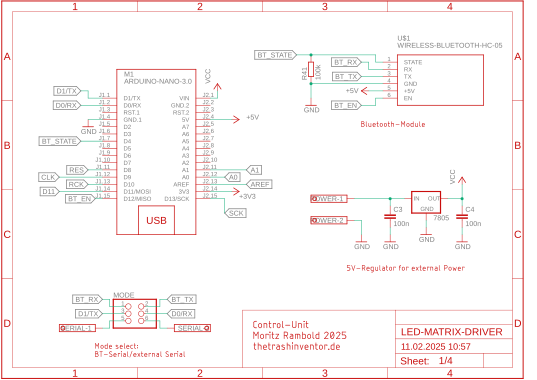
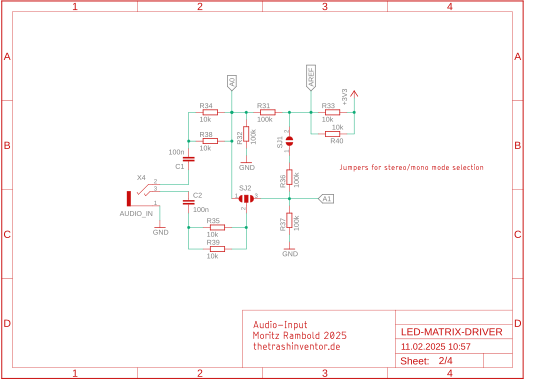
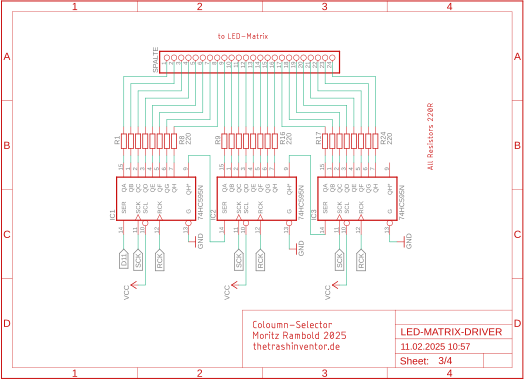
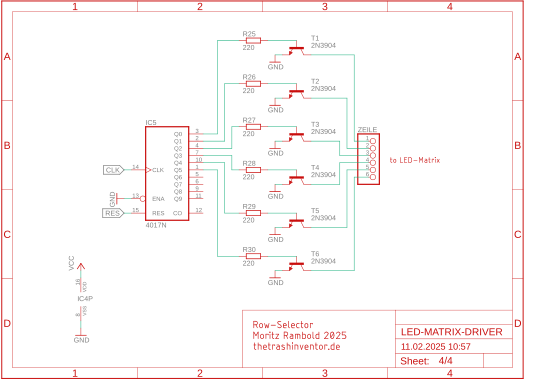
The complete schematic is available here as PDF.
PCBs
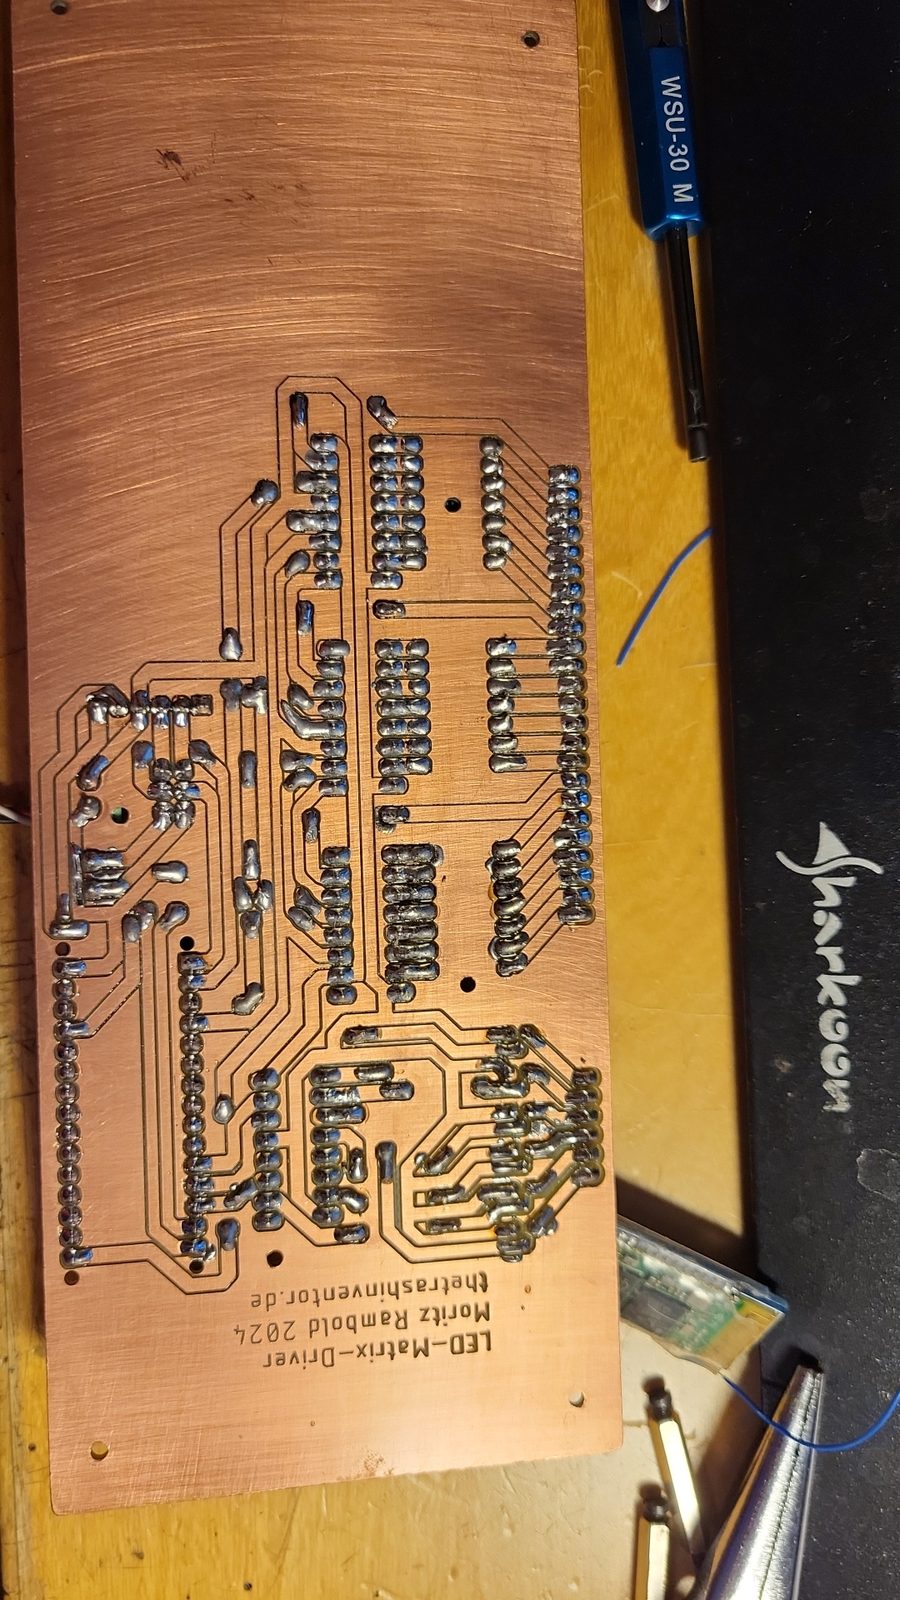
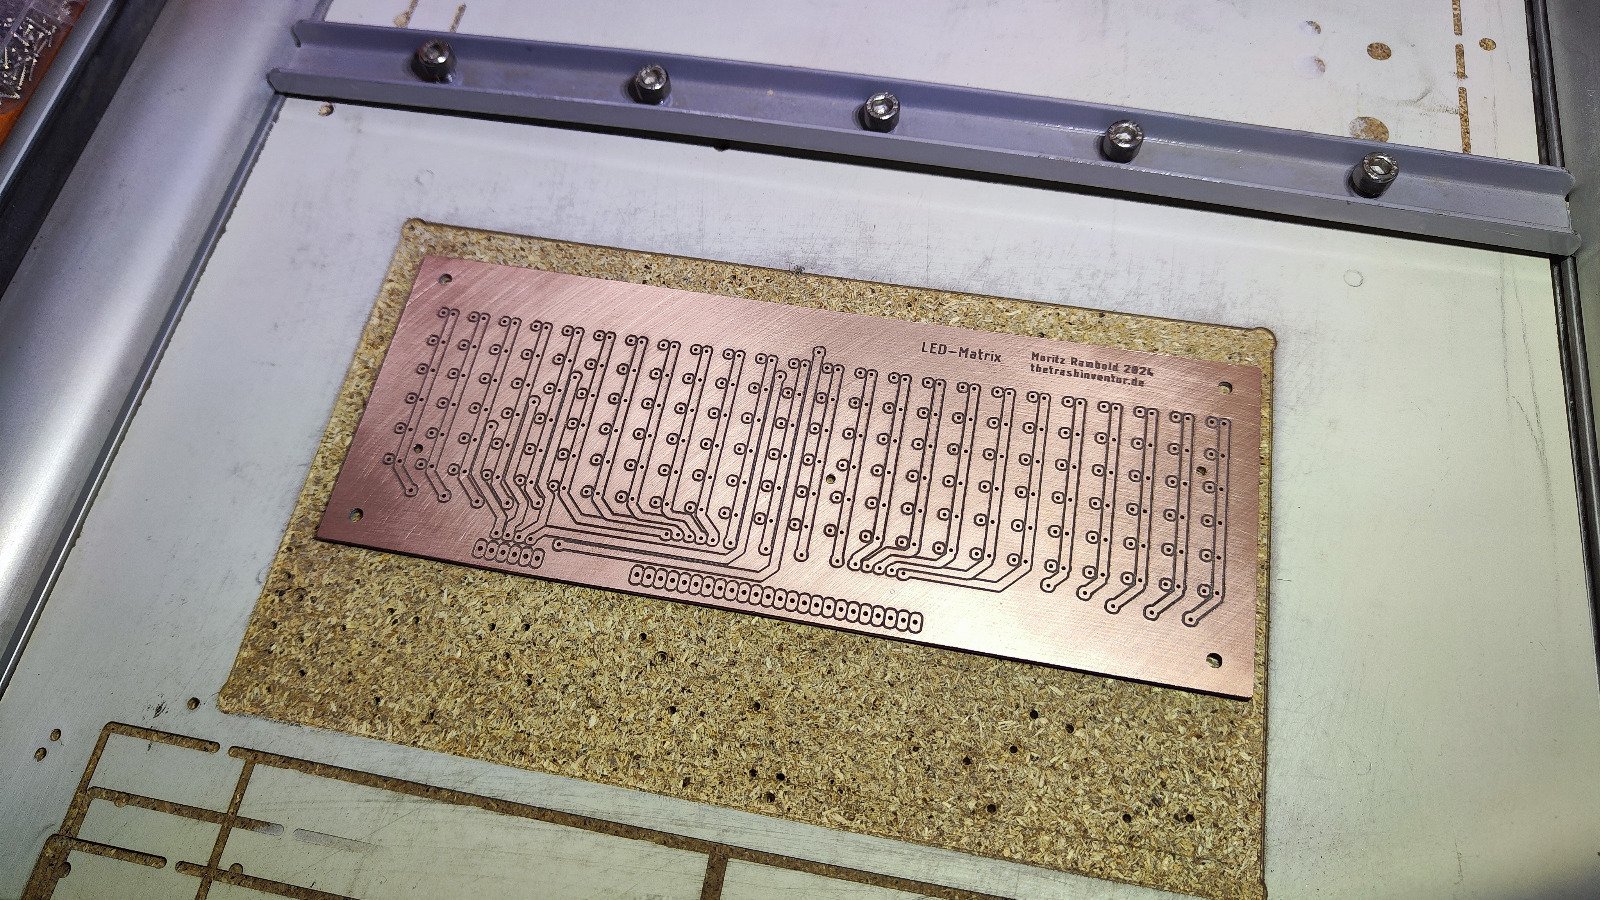
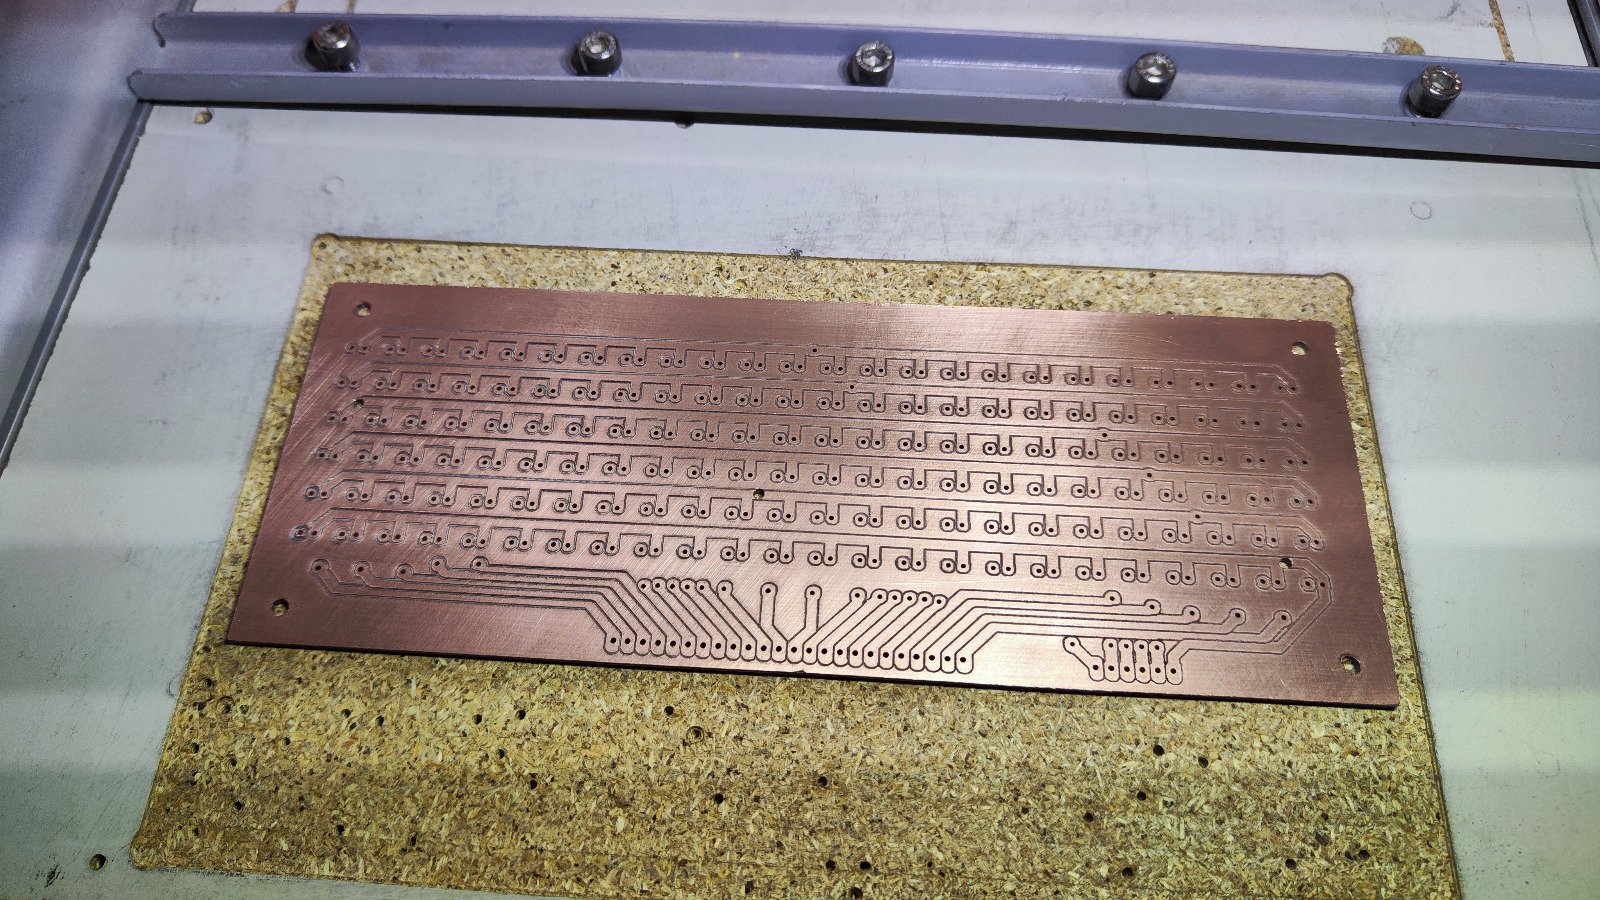
Both boards measure approx. 196 × 74 mm. The driver board takes care of driving the LEDs, while the LED board serves as a carrier for the LEDs. When using 10 mm LEDs, the LED board is omitted. The two boards are connected to each other via pin headers. A first prototype was milled by pfusch.zone. However, since this design has no vias, the LEDs have to be soldered from both sides. The result was error-prone and laborious to assemble, which is why the boards were manufactured by JLCPCB.
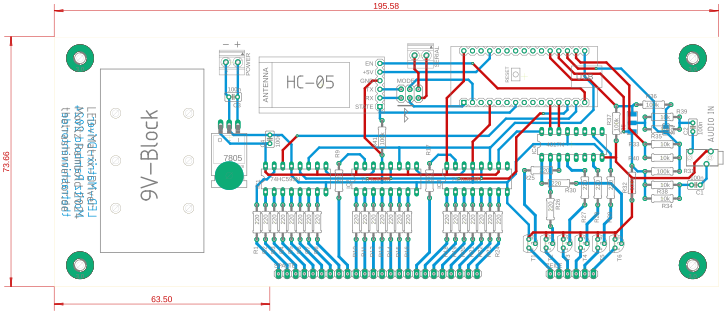
Layout of the driver board (PDF)
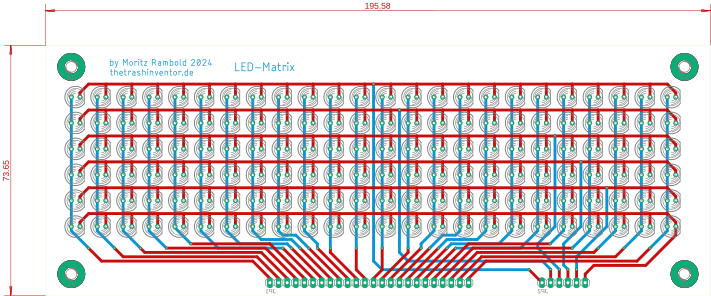
Layout of the LED board (PDF)
Software and usage
After pairing with the HC-05, texts can be sent to the matrix using a Bluetooth terminal app. The screenshot shows the connection and a message that was successfully saved to the EEPROM.
- Texts: are sent directly and saved
- Character set: uppercase letters, numbers and special characters
- Commands: start with
@and switch animations or functions (see table)
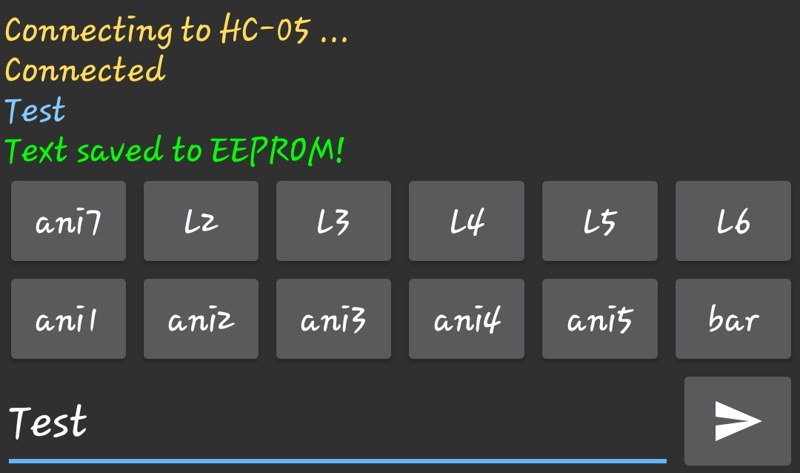
Bluetooth terminal app
All inputs without a leading @ are interpreted as text, saved to the EEPROM and displayed as scrolling text. Because the text is stored in the EEPROM, it does not have to be entered again after the device has been switched off and on. An animation runs until a new command or text is received.
| Command | Description |
|---|---|
@help |
List of all commands in the serial monitor |
<text> |
Display the text, scroll it and save it |
@speed <value> |
Set the scroll speed in ms (is saved) |
@ani1 |
Animation 1: alternating even/odd LEDs |
@ani2 |
Animation 2: pixel scan |
@ani3 |
Animation 3: sine wave |
@ani4 |
Animation 4: DVD screensaver |
@ani5 |
Animation 5: Tetris |
@bar |
Simulated bar graph (VU meter) |
@spec |
Simulated 24-channel spectrum |
@timer |
Timer that starts at 0:00 and counts up to 10 minutes |
@dice |
Dice: random number from 1 to 6 |
The source code is available in the GitHub repository of the LED matrix.
Enclosure
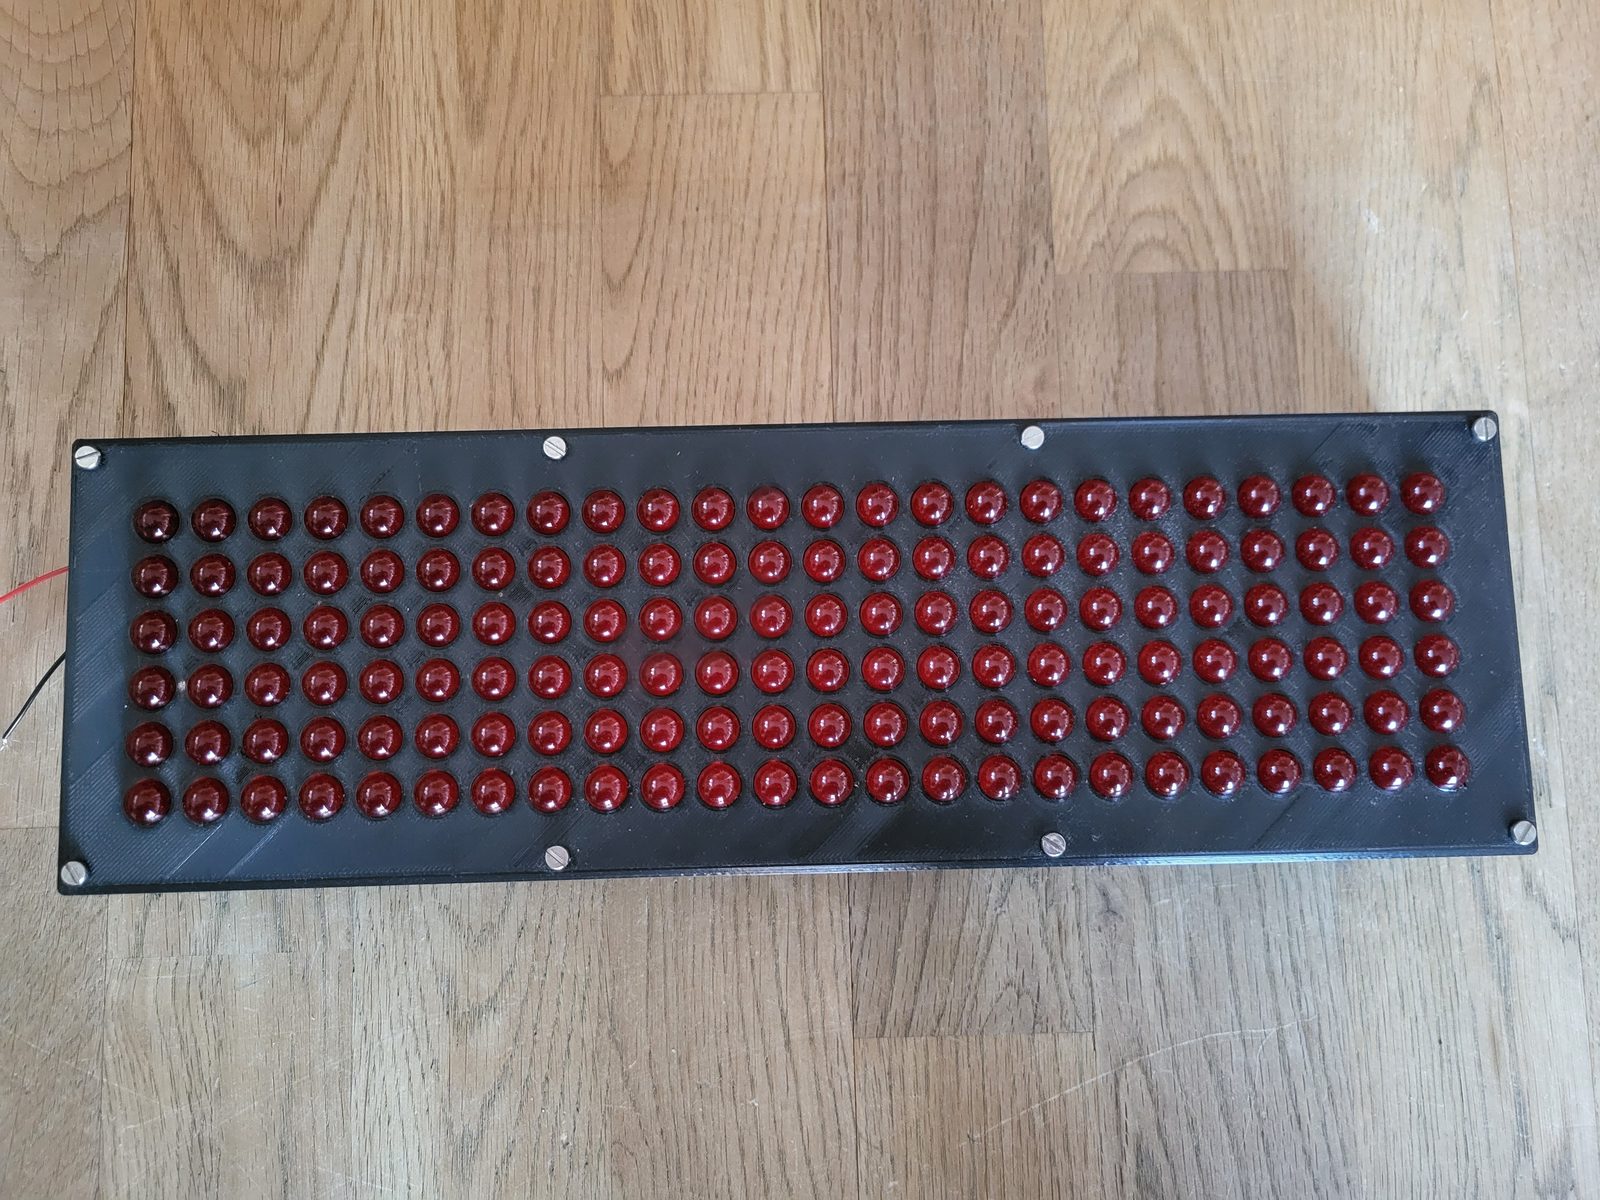
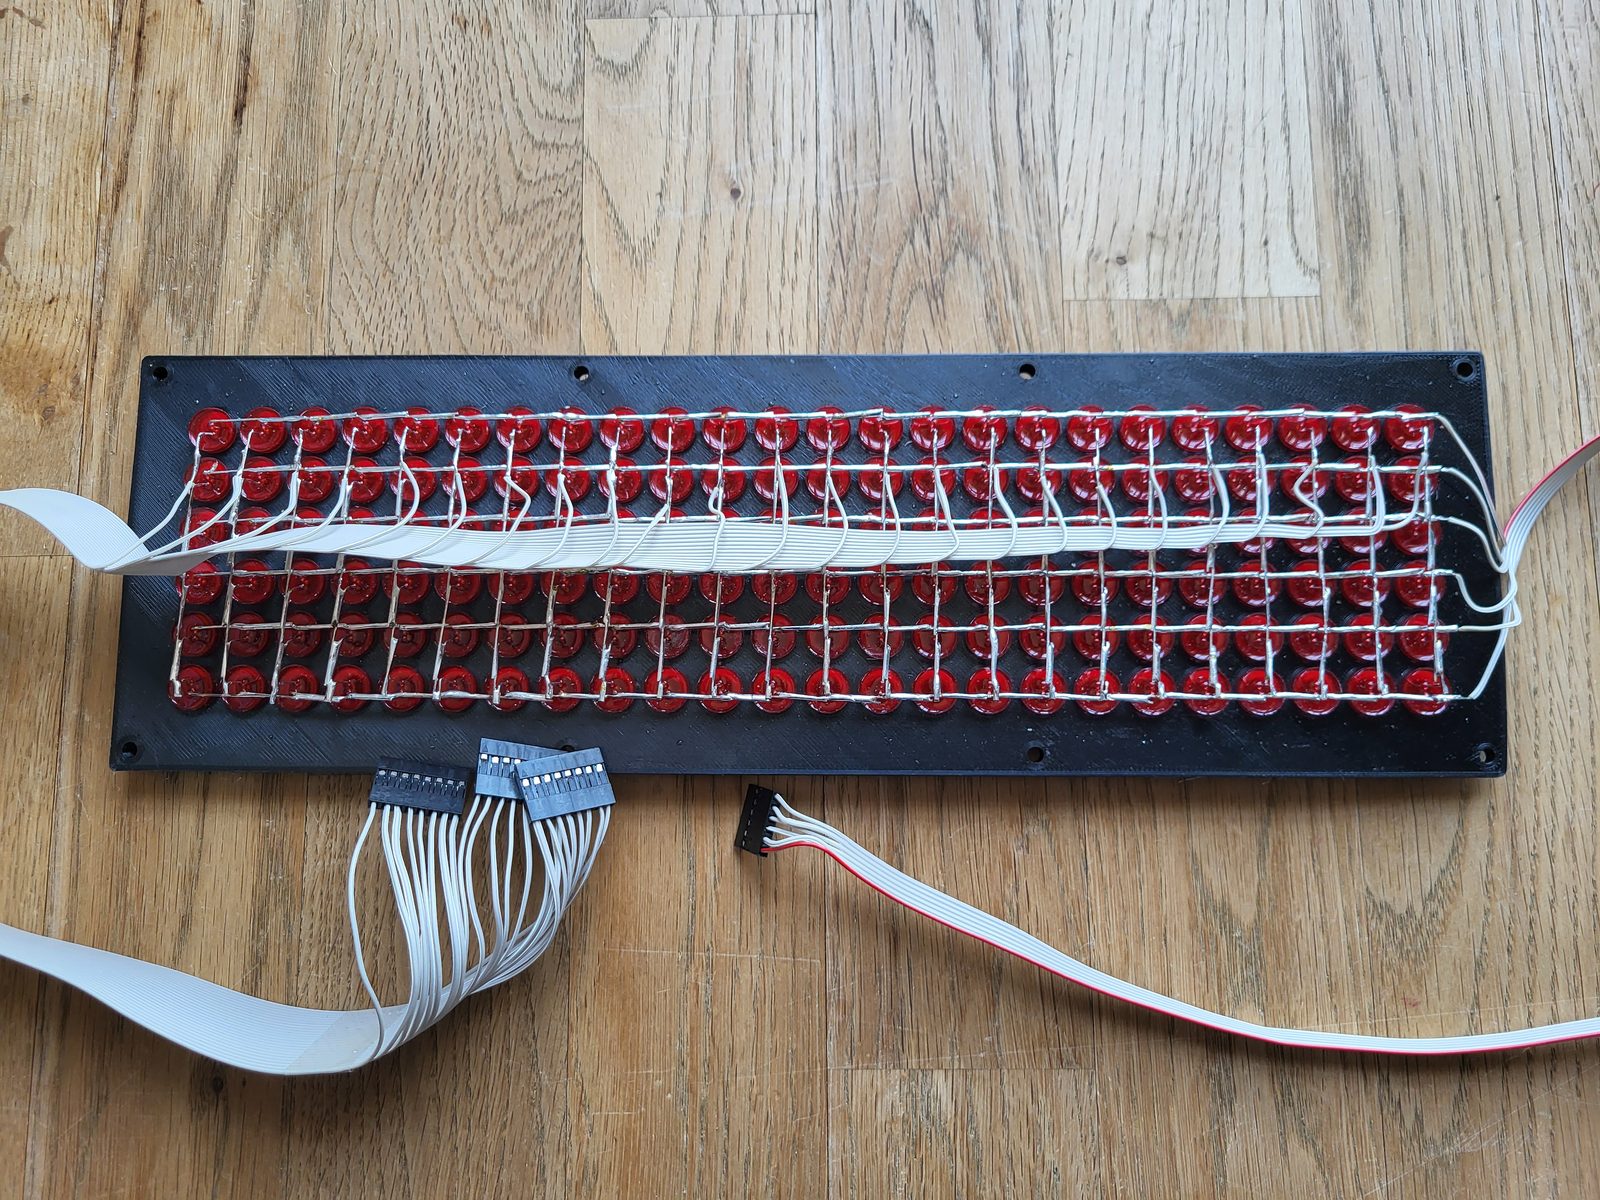
For the larger version with 10 mm LEDs, a front plate and an enclosure were designed in Fusion 360 and 3D printed. A drawback is that the LEDs have to be wired by hand.
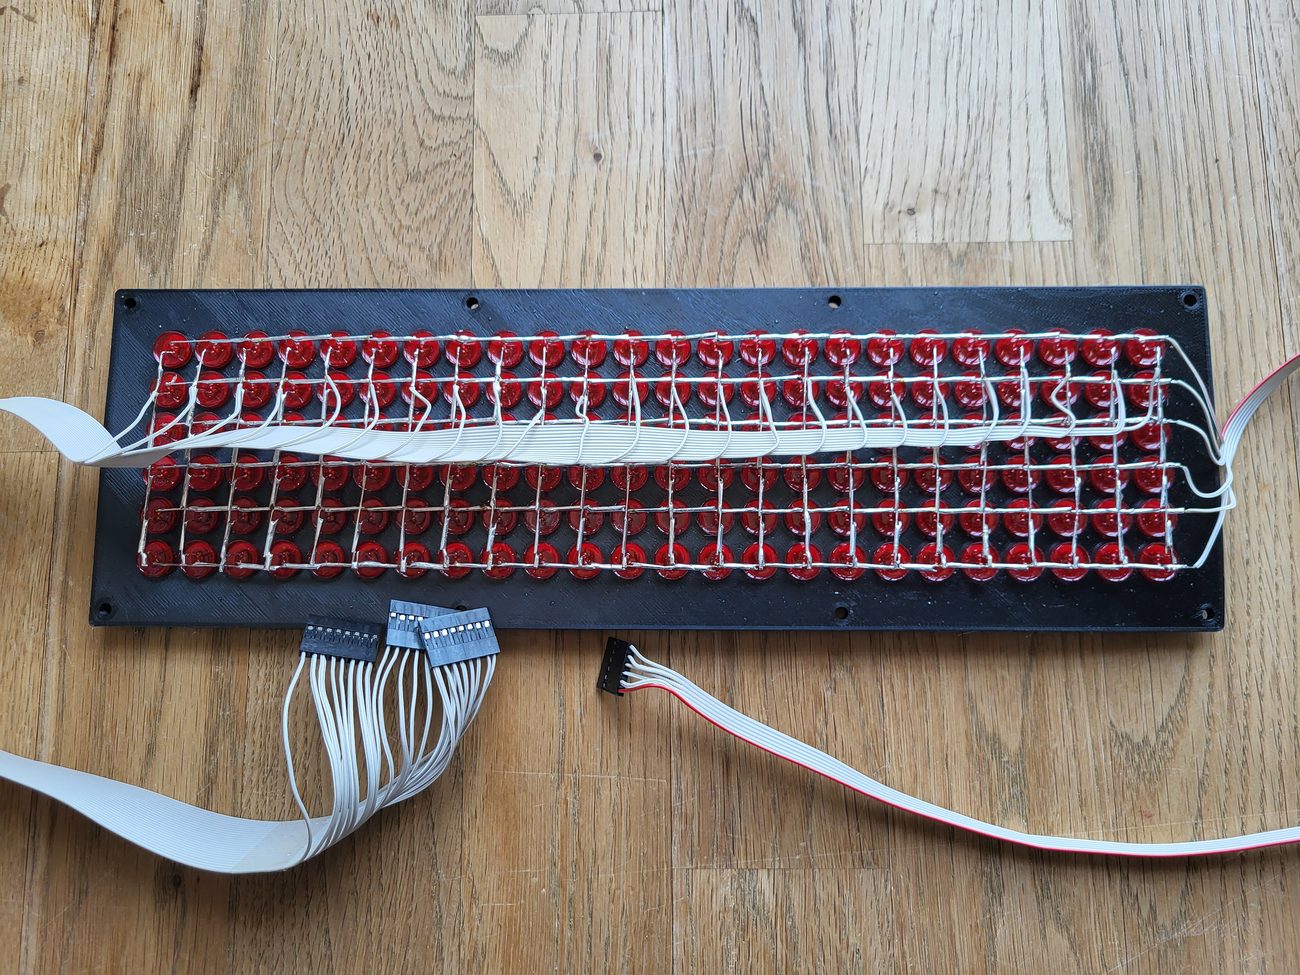
Prototype with hand-wired LEDs
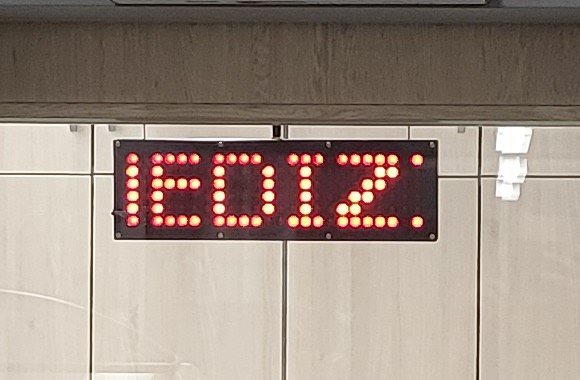
In use as a door sign in the medical engineering department
Videos
First test with blue LEDs
2025.01.10
Animation 1 with orange LEDs
2025.01.23
Tetris
2025.01.30
Flappy Bird
2025.01.31
Gallery